Prerequisites
This post assumes that you have a basic understanding of React and Redux, and it helps if you have some experience with React Hooks like useReducer.
Introduction
Nowadays, we have a lot of state management libraries for React, such as Redux, MobX, and Recoil. In this post, we will learn how to use Redux Toolkit to manage the state of our React application.
What is Redux?
Redux is a predictable state container for JavaScript apps. It helps you write applications that behave consistently, run in different environments (client, server, and native), and are easy to test. On top of that, it provides a great developer experience, such as live code editing combined with a time traveling debugger.
What is Redux Toolkit?
Redux Toolkit is the official, opinionated, batteries-included toolset for efficient Redux development. It is intended to be the standard way to write Redux logic.
It was originally created to help address three common concerns about Redux:
- Configuring a Redux store is too complicated.
- I have to add a lot of packages to get Redux to do anything useful.
- Redux requires too much boilerplate code.
Why Redux Toolkit?
Redux Toolkit is a package that contains a set of tools to help you write Redux logic more easily. It is not a Redux replacement, but it is an alternative to writing Redux logic by hand.
Installation
Step 1: initialize a React project using vite
First, we need to initialize a React project using vite.
# using npmnpm init vite react-with-redux-toolkit
# using yarnyarn create vite react-with-redux-toolkit
# using pnpmpnpm create vite react-with-redux-toolkit
# using npxnpx create-vite react-with-redux-toolkit# select the react? Select a framework: react# select the javascript? Select a variant: javascriptNote
You can use npm, yarn, pnpm, or npx to initialize a React project
using vite.
Note
You can use typescript instead of javascript to initialize a React project
using vite.
Step 2: go to the project directory
cd react-with-redux-toolkitStep 3: install the basic dependencies
# using npmnpm install
# using yarnyarn install
# using pnpmpnpm installStep 4: install Redux Toolkit
# using npmnpm install @reduxjs/toolkit react-redux
# using yarnyarn add @reduxjs/toolkit react-redux
# using pnpmpnpm add @reduxjs/toolkit react-reduxUsage
Step 1: remove the unnecessary files
We will remove the unnecessary files and clean up the src directory.
rm -rf src/*Explanation:
rm- remove files or directories-rf- remove directories and their contents recursively
Step 2: create the basic structure
Step 2.1: create the folders and files
We will create the basic structure of our project.
# create the components directorymkdir src/components
# create the store directorymkdir src/app
# create the App.jsx filetouch src/App.jsx
# create the main.jsx filetouch src/main.jsxStep 2.2: create the App.jsx file
We will create the App.jsx file.
const App = () => { return ( <div> <p>React With Redux Toolkit - Part 1</p> </div> );};
export default App;Step 2.3: create the main.jsx file
We will create the main.jsx file.
import App from './App';import React, {StrictMode} from 'react';import ReactDOM from 'react-dom/client';
ReactDOM.createRoot(document.getElementById('root')).render( <StrictMode> <App /> </StrictMode>,);Step 3: create the store
Step 3.1: create the store.js file
We will create the store.js file.
import {configureStore} from '@reduxjs/toolkit';
const store = configureStore({ reducer: {},});
export default store;As you can see, we have imported the configureStore function from @reduxjs/toolkit and we have created the store using the configureStore function.
Explanation:
import { configureStore } from '@reduxjs/toolkit'- import the configureStore functionconst store = configureStore({ reducer: {} })- create the store using the configureStore functionexport default store- export the store
Note
After that, we will make some changes to the main.jsx file.
import App from './App';import store from './app/store';import React, {StrictMode} from 'react';import ReactDOM from 'react-dom/client';import {Provider} from 'react-redux';
ReactDOM.createRoot(document.getElementById('root')).render( <StrictMode> <Provider store={store}> <App /> </Provider> </StrictMode>,);You’ll notice that we have wrapped the App component with the Provider component, after importing it from the react-redux library. We also imported the store from ./app/store. Then we passed that store to the Provider component.
Explanation:
import { Provider } from 'react-redux'- import the Provider componentimport store from './app/store'- import the store<Provider store={store}>- pass the store to the Provider component
Step 4: create the counterSlice.js file
We will create the counterSlice.js file.
import {createSlice} from '@reduxjs/toolkit';
const initialState = { count: 0,};
const counterSlice = createSlice({ name: 'counter', initialState, reducers: { increment: (state) => { state.count += 1; }, decrement: (state) => { state.count -= 1; }, reset: (state) => { state.count = 0; }, incrementByAmount: (state, action) => { state.count += action.payload; }, },});
export const {increment, decrement, reset, incrementByAmount} = counterSlice.actions;
export default counterSlice.reducer;The createSlice function is used to create a slice of the store. We passed the name of the slice as counter and the initial state as initialState. We passed the reducers as an object, holding increment, decrement, reset, and incrementByAmount. Then we exported the increment, decrement, reset, and incrementByAmount actions, and the reducer itself.
Explanation:
import { createSlice } from '@reduxjs/toolkit'- import the createSlice functionconst initialState = { count: 0 }- define the initial state of the sliceconst counterSlice = createSlice({ name: 'counter', initialState, reducers: { increment: (state) => { state.count += 1 }, decrement: (state) => { state.count -= 1 }, reset: (state) => { state.count = 0 }, incrementByAmount: (state, action) => { state.count += action.payload }, } })- create the slice of the storeexport const { increment, decrement, reset, incrementByAmount } = counterSlice.actions- export the actionsexport default counterSlice.reducer- export the reducer
Step 5: add the counterSlice reducer to the store
We will add the counterSlice reducer to the store.
import counterReducer from '../components/Counter/counterSlice';import {configureStore} from '@reduxjs/toolkit';
const store = configureStore({ reducer: { counter: counterReducer, },});
export default store;Now after adding the counterSlice reducer to the store, it will be available in the entire application.
Explanation:
import counterReducer from '../components/Counter/counterSlice'- import the counterSlice reducerreducer: { counter: counterReducer }- add the counterSlice reducer to the store
Step 6: create the Counter component
We will create the Counter component.
import {increment, decrement, reset, incrementByAmount} from './counterSlice';import React from 'react';import {useSelector, useDispatch} from 'react-redux';
const Counter = () => { const count = useSelector((state) => state.counter.count); const dispatch = useDispatch();
return ( <div> <p>Count: {count}</p> <button onClick={() => dispatch(increment())}>Increment</button> <button onClick={() => dispatch(decrement())}>Decrement</button> <button onClick={() => dispatch(reset())}>Reset</button> <button onClick={() => dispatch(incrementByAmount(5))}> Increment By 5 </button> </div> );};
export default Counter;As you can see, we have imported the useSelector and useDispatch hooks from react-redux, and the increment, decrement, reset, and incrementByAmount actions from ./counterSlice. We use useSelector to get the count from the store, and useDispatch to dispatch the actions. Each button dispatches one of those four actions.
Explanation:
import { useSelector, useDispatch } from 'react-redux'- import the useSelector hook and the useDispatch hookimport { increment, decrement, reset, incrementByAmount } from './counterSlice'- import the actionsconst count = useSelector((state) => state.counter.count)- get the count from the storeconst dispatch = useDispatch()- get the dispatch functiononClick={() => dispatch(increment())}- dispatch the increment actiononClick={() => dispatch(decrement())}- dispatch the decrement actiononClick={() => dispatch(reset())}- dispatch the reset actiononClick={() => dispatch(incrementByAmount(5))}- dispatch the incrementByAmount action
Step 7: add the Counter component to the App component
We will add the Counter component to the App component.
import Counter from './components/Counter/Counter';import React from 'react';
const App = () => ( <div> <Counter /> </div>);
export default App;As you can see, we have imported the Counter component and added it to the App component.
Explanation:
import Counter from './components/Counter/Counter'- import the Counter component<Counter />- add the Counter component to the App component
Step 8: Run the application
We will run the application.
yarn dev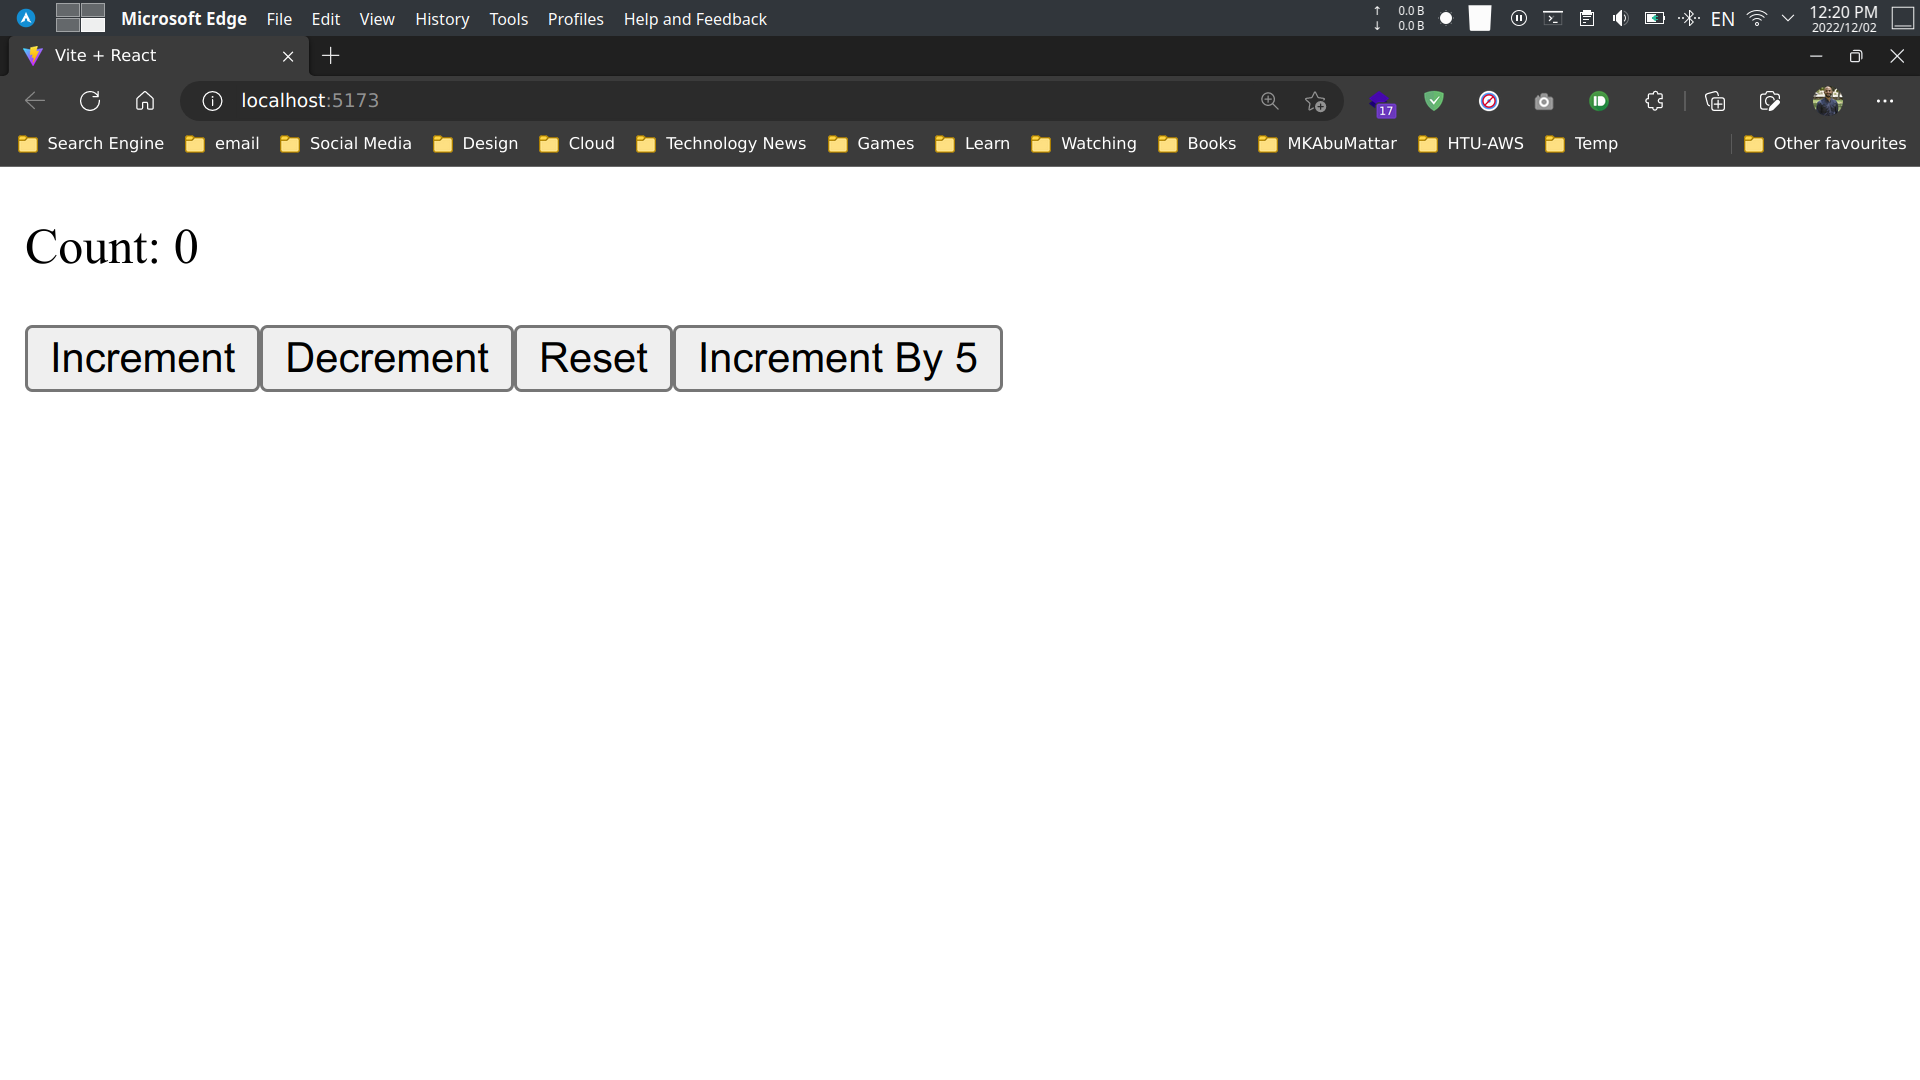
As you can see, we have a counter. We can increment it, decrement it, reset it, and increment it by 5.
Step 9: access the count value in other components
We will access the count value in other components, for example, in the Header component.
import React from 'react';import {useSelector} from 'react-redux';
const Header = () => { const count = useSelector((state) => state.counter.count);
return ( <header> <h1>Redux Toolkit Counter</h1> <p>Count: {count}</p> </header> );};
export default Header;As you can see, we have imported the useSelector hook from react-redux. We use it to get the count value from the store, and then render that value inside the Header component.
Explanation:
import { useSelector } from 'react-redux'- import the useSelector hookconst count = useSelector((state) => state.counter.count)- get the count from the store<p>Count: {count}</p>- add the count to the Header component
Step 10: add the Header component to the App component
We will add the Header component to the App component.
import Counter from './components/Counter/Counter';import Header from './components/Header/Header';import React from 'react';
const App = () => ( <div> <Header /> <Counter /> </div>);
export default App;As you can see, we have imported the Header component and added it to the App component.
Explanation:
import Header from './components/Header/Header'- import the Header component<Header />- add the Header component to the App component
Step 11: Run the application
We will run the application.
yarn dev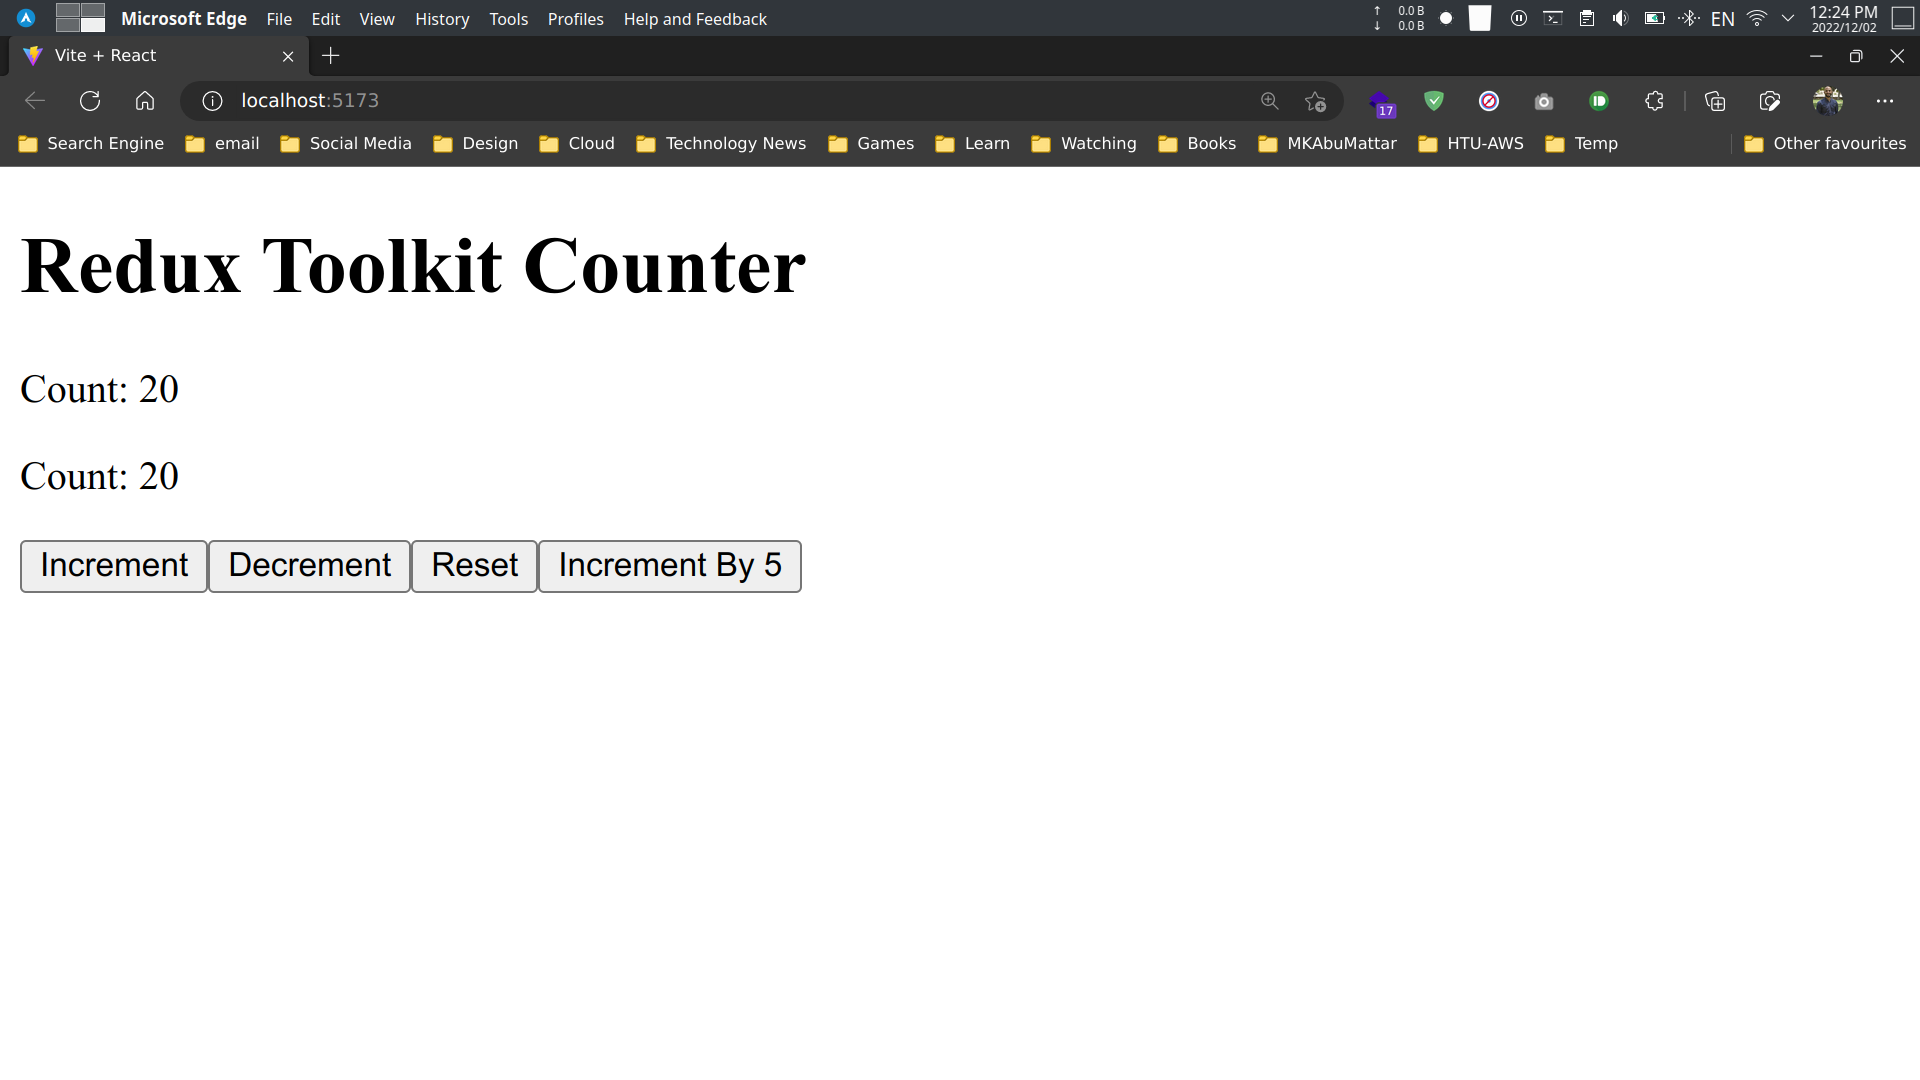
As you can see, we have a counter we can increment, decrement, reset, and increment by 5. We also have a header showing the same count value.
Source Code
You can find the source code for this tutorial on GitHub. You can clone the repository and run the application.
# Clone the repositorygit clone https://github.com/MKAbuMattar/react-with-redux-toolkit.git
# Go inside the directorycd react-with-redux-toolkit
# Install dependenciesyarn install
# Run the applicationyarn devConclusion
In this article, we learned how to set up a Redux store with Redux Toolkit. We created a Redux slice, wrote the actions and the reducers, and built the store from them. We added that store to the App component through the Provider. We added the Counter component to the App component, read the count value from a second component, and added the Header component to the App component as well.
Resources
- Redux Toolkit Official Website
- Redux Toolkit Quick Start Tutorial
- Redux Official Website
- React Official Website
- React Redux Documentation
- Vite Official Website
- Redux Toolkit
configureStoreAPI Reference - Redux Toolkit
createSliceAPI Reference - Using Redux with React Hooks (
useSelector,useDispatch) - Redux DevTools Extension
- Redux Core Concepts
- React Context (Alternative for simple state management)
- GitHub Repository for this tutorial